No, not that Lemmy. RIP.
I’m not going to write a whole background on why I chose to spin up my own Lemmy instance. Needless to say, this past eight months has been a lot of fun learning about federated internet resources, including my foray into Mastodon and then Akkoma. Long story short, Lemmy is a federated message board system similar to Reddit. And Reddit is shitting the bed recently.
Anyway, it was very easy to get Lemmy going with a basic Digital Ocean droplet. With any luck, you can replicate the instructions below to start your own instance.
- Step One: open a Digital Ocean account – this should be pretty straightforward and I shouldn’t need to walk you through this. I will say, it’s probably wise to set up 2FA on your account. Also, make sure you have credit in your account – the last thing you want is to have service suspended one day because your account ran out of money.
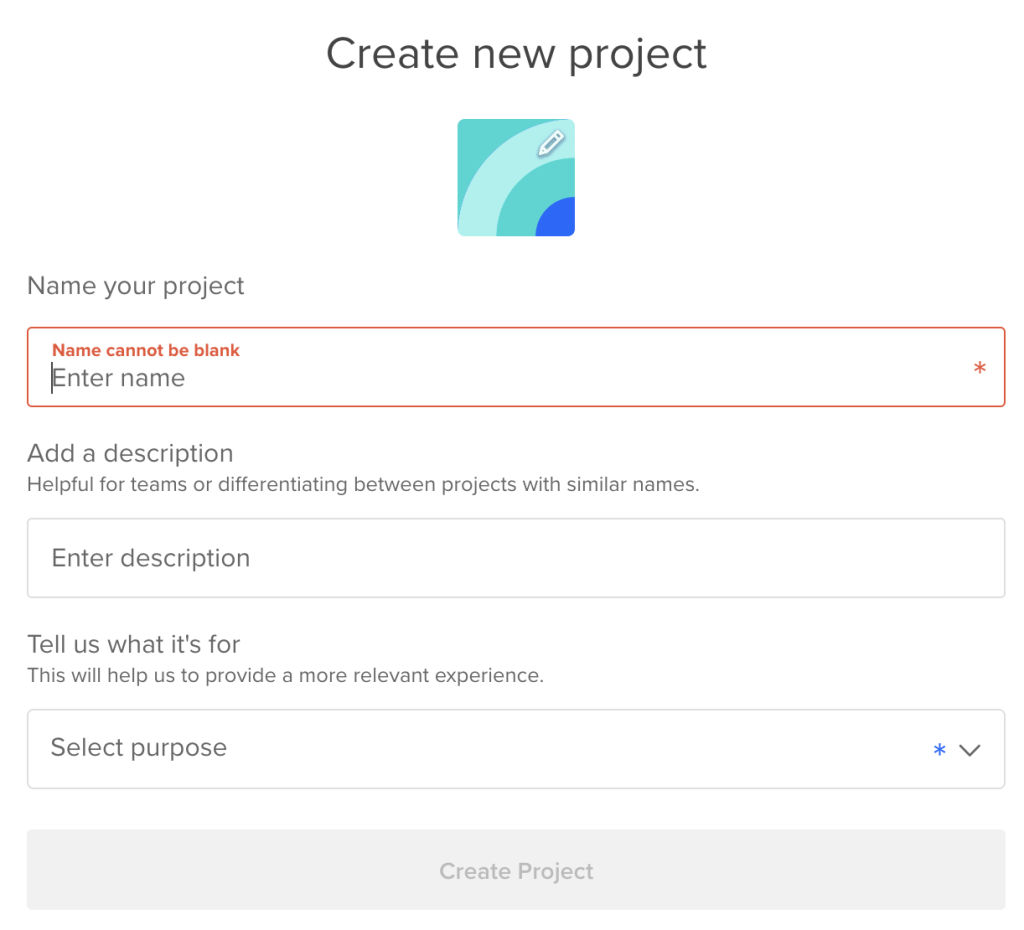
- Step Two: create a new project – a project is where all your different resources live – your VMs (Droplets), domain names, network resources…
- Step Three – create a new droplet. You can do this from the droplets menu on the left sidebar. Here are what I would consider the minimum settings for a Lemmy instance. What is great about Digital Ocean is you can always scale these up later:
- Region/Data Center – up to you
- Image: Ubuntu 22.10 x64 — you don’t *have* to use Ubuntu but I find it easiest of all the default options
- Droplet size: Regular, 1GB RAM, 1vCPU, 25GB Storage, 1TB Transfer
- Auth method – I chose password; you can always add an SSH Key pair later (which I will cover). If you do use password based authentication, make sure you set a good secure password. And don’t forget it. It’s a good time to use a password manager if you aren’t already.
- Select the option for improved metrics and monitoring, its free anyway.
- It would be wise to select the weekly backup option, too.
- Step Four – some system config. When the droplet is done being created, you can connect via SSH. Now is a good time to update your system, and we will also take care of the key pair too.
# Connect via SSH to your droplet - if using pass auth, enter it
# when prompted

ssh root@your.droplet.ip.address

# Let's update the system since we are here

apt update

# Now we are going to exit the droplet and run some commands from
# your local terminal. This is only necessary if you haven't
# generated an SSH key pair.

exit

# for the following command, follow the interactive prompts

ssh-keygen

# the above command creates a key, by default named id_rsa,
# usually in this folder ~/.ssh
# Next, lets copy it to the server. Enter your password if
# prompted

ssh-copy-id root@your.droplet.ip.address

# if it worked, now you can just type the following command to
# login to your server without a password.

ssh root@your.droplet.ip.address- Step Five: follow the lemmy-ansible instructions – At this point, the instructions are all contained within the Lemmy-ansible github repo. Before you can run the instructions there, you will need to install Ansible, I installed it using pip for Python. That isn’t something I will go over in detail here but its very straightforward with the linked resource. Once Ansible is installed, follow the instructions in the linked Github to install Lemmy on your droplet. (I helped clean up some of the documentation on the ansible instructions; I find them to be very clear now)
- Step Six: wrapping up. At this point, all that is left is to make sure your domain name is pointed at the droplet with the proper DNS settings. I find it easy to just tell your registrar to point to the Digital Ocean name servers and add it as a resource in your project. Digital Ocean will then take care of creating the DNS records you need to point it to your droplet.
Once the Lemmy instance is running, direct yourself to your domain name and fill out the initial setup form. When you have that done, make sure you reach out to me on https://links.dartboard.social and join up with some of my communities.
Leave a Reply
Comments are disabled, except those originating from the fediverse (Mastodon, Akkoma, etc.). Additionally, comments must be manually approved before they will appear here.